Ok Let’s get started!
Inspiration
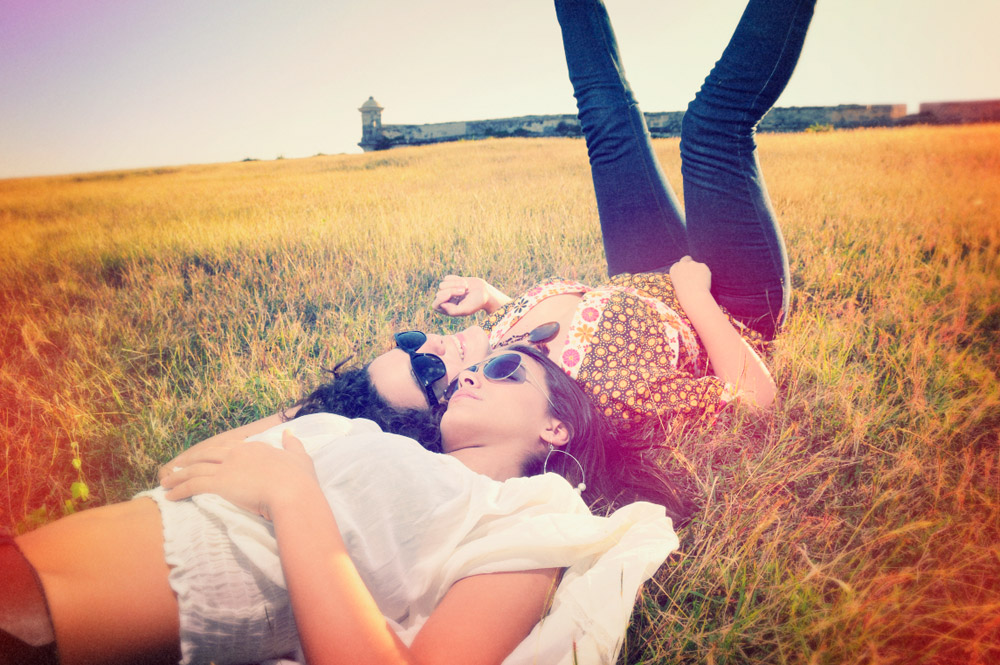
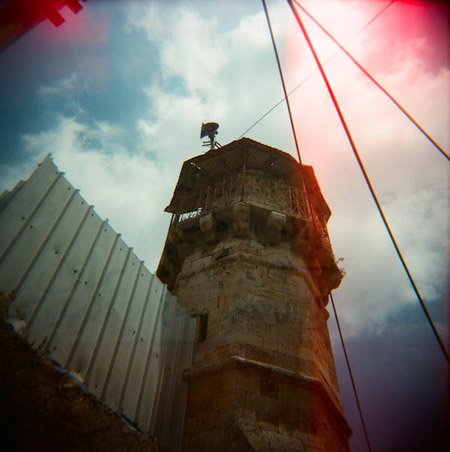
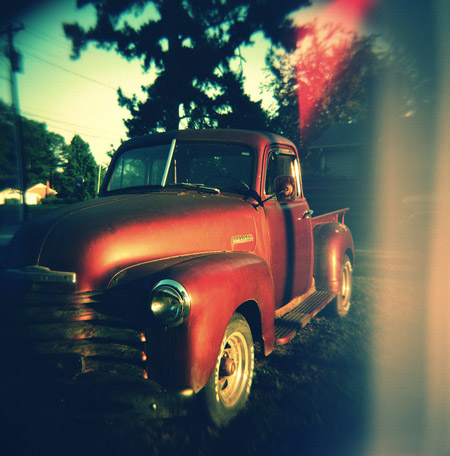
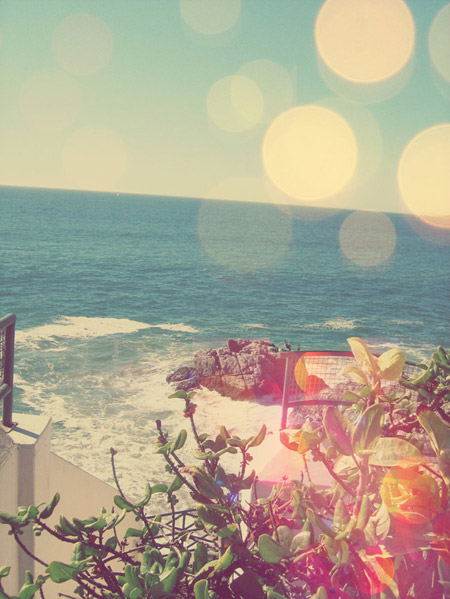
You don’t have to look far before finding quality examples of old style analog photography. Characteristics include inaccurate colour washes of warm tones, dark vignettes surrounding the shots, blurred focus and light leaks where the film has been excessively exposed.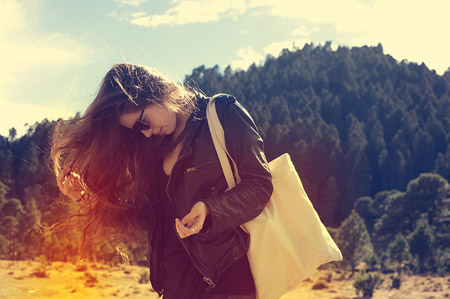
Create your own retro analog effect
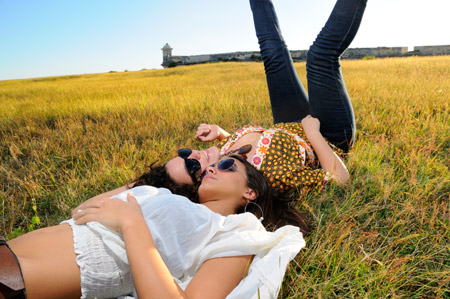
Once you have your photograph of choice, fire up Adobe Photoshop. This particular image I’ve sourced from ThinkStock.
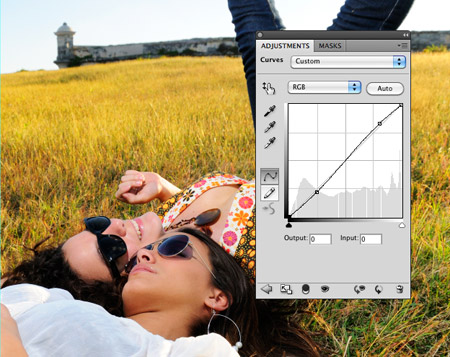
Add a Curves adjustment layer to begin altering the tones of the image. Using an adjustment layer as opposed to the menu command gives you the ability to go back and tweak the settings, or remove them altogether.
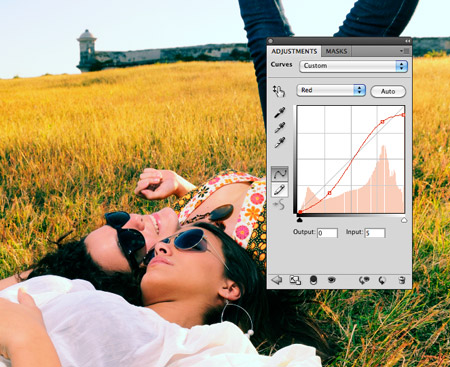
Change the drop down menu to the Red channel and begin manipulating the curves. Tweak the line into an S shaped bend.

Move onto the Green channel, this time increase the green midtones by creating a large flowing bend in the line.

In the Blue channel, add both a slight S shaped bend and move the start and end points above and below the original curves line.
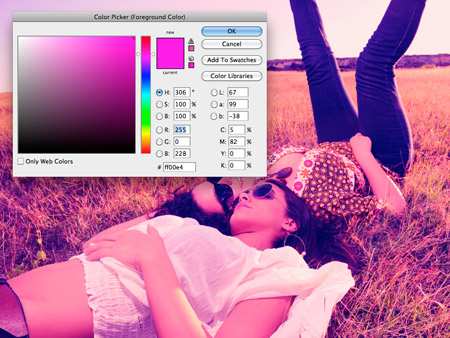
Fill a new layer with magenta, then change the blending mode to Soft Light. Reduce the opacity of the layer to around 20% to tone down the effect.
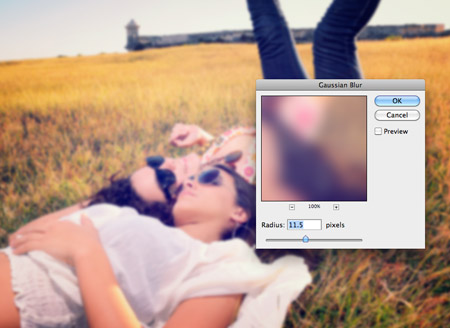
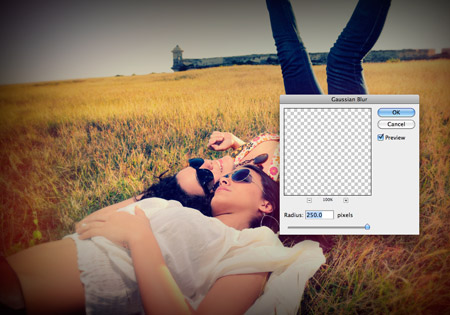
Press CMD+A to Select All, then go to Edit > Copy Merged (CMD+Shift+A). Paste this duplicate on a new layer, then add a Gaussian Blur. Add a Layer Mask to the blur layer and erase the blurring from the main subjects, leaving spots of blurring creeping in from the edges and in the background.
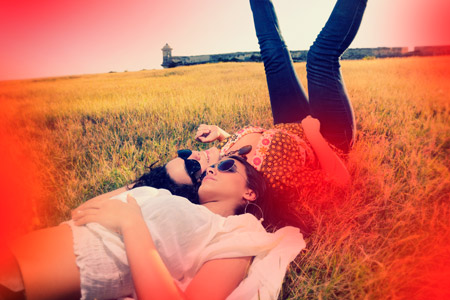
Dab spots of red using a large soft brush on a new layer. Change the blending mode of this layer to Linear Dodge to create a series of light leaks. Reduce the opacity to around 70%.
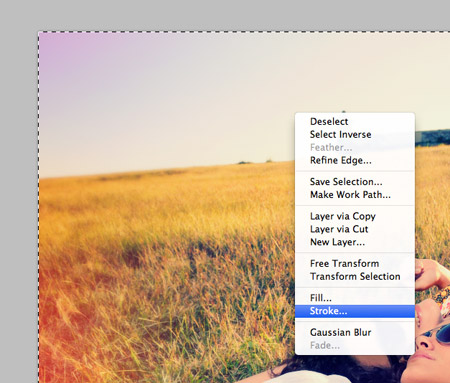
Select All, then right click the document and select Stroke. Add a 100px black stroke to the inside of the canvas.
Blur the stroke with maximum settings using the Filter > Blur > Gaussian Blur option to form a vignette. Set this layer to Soft Light at 70%.
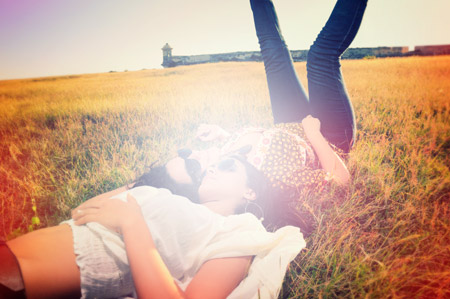
Dab a large spot of white in the centre of the canvas to highlight the main subjects. Change this to Soft Light at 100%.

Fill a new layer with black and add some noise (Filter > Noise > Add Noise). Give the noise layer a slight Gaussian Blur to take the edge off the noise particles, then change the blending mode to Screen at 15%.
Posted by , Published at 10:38 AM and have
0
comment


 m
m
No comments:
Post a Comment