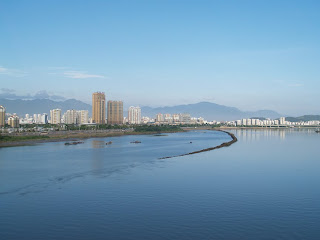
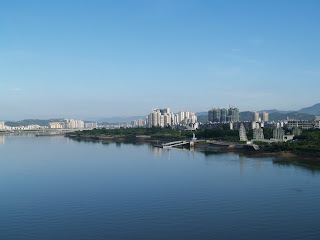
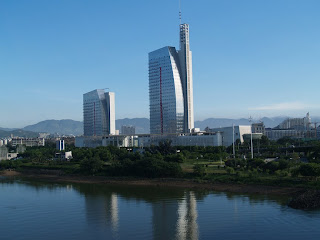
In this tutorial, I will show you how you can Create Widescreen Wallpaper via Image Merging in Photoshop. Have a try!
Here is a preview of the final effect we will be aiming to achieve: (click to enlarge)


OK let’s get started!
Step 1
Load the “Image 1″ stock image into Photoshop, hit Ctrl + A to select the entire image, then press Ctrl + C to make a copy.Hit Ctrl + N to create a new file, you will notice the width and height of the new file will be set automatically:
Because we have four images here, in order to fit them into one canvas, we need to increase the width of the image to 4 times the width of one individual image:
Once the new file is created, paste the image onto it and drag it to the right side:
Step 2
Load the rest of the images into Photoshop, copy and paste them on the canvas, as shown below:As you can see, the edge of each layer doesn’t not line up properly against each other:
Reduce the fill opacity of layer 1 to around 70%:
Reduce the fill opacity to layer 2 to around 70%:
Now let’s find a distintive object which we can use as a guide – I chose this building shown below:
Adjust the position of the layer 2, and merge it into layer 1, using this building as a guide.
Once there is no blur appearing on the image, you’re pretty much done with the merge: (don’t worry about the river edge is a bit rough now, we will deal with it later)
and here is the overall effect:
Step 3
Now we need to merge the other two photos together. Use the same techique as described in the previous step, reduce the layer opacity and find a distintive object, adjust the layer position to fit them together:From Image 3 to Image 2:
Result:
From Image 4 to Image 3:
Result:
Once you’re happy with the merge, make sure you go to Image > Trim and trim out the empty white background.
Step 4
Increase the layer opacity of each layer back to 100%.Now let’s take a look at the river portion of the image. As you can see, because we tried to align the images in the previous step, we now have some white space on the right side of the canvas:
To tackle this problem, we can simply make a selection with the rectangular marquee tool as shown below:
Press Ctrl + T to bring out the free transform tool:
Drag the bottom center portion down to fill the white space:
As you can see, the white space is now filled:
and here is the overall effect so far:
Step 5
Flatten the image layers by right-clicking any one of the layers on the layer palette, then choose “Flatten Image”.Now let’s tidy up the image a bit. As you can see, on the edge of each image we pasted previously, some parts did not blend with each other prefectly. We need to somehow get rid of them.
Now instead of using the blur tool, I found the Smudge Tool prefect for this job:
Set the brush size to around 10-12px, blending mode to “normal”, strength to around 50% for the Smudge Tool, apply it to the edge of the image.
Here is the effect after applying the Smudge Brush:
You can apply the same smudge tool technique to the sky portion as well:
Here is the effect after applying the smudge tool the sky portion:
and here is the final effect for this tutorial: (click to enlarge)
That’s it! Hope you enjoy this tutorial and find it useful :)
Till next time, have a great day!
Posted by , Published at 10:37 PM and have
0
comment


 m
m
No comments:
Post a Comment